I usually work on the back-end, but there’s always some user interface work to do, and since I’m not too good at design, I decided to search for modern templates based on Bootstrap 4 to adopt one.
There are many options available in this field, just search for admin dashboard templates in Google and you’ll find many free and low-cost options (US$ 10-30). You can pick just about anyone to get a pretty good looking user interface (at least from my point of view).
In fact, I have come to buy a couple of these templates, but, although they do comply with the look and feel aspect, looking at their internal structure and the amount of Javascript they use, I’ve been a bit disappointed.
So, leveraging that I recently finished a project where I used a template, I resumed the search and found CoreUI, which is open source, has “clean internals”, is based on Bootstrap 4 and has a “pro” version, with many things already resolved for a good price, especially considering the time I would need to get something like that.
In this article I will focus on the process of adapting the static HTML 5 version of CoreUI (OpenSource) by downloading it directly from GitHub, replacing the HTML components of a basic ASP.NET MVC Core 2 application generated directly from Visual Studio 2017.
I hope to do this in a way that will make it easy to update the base project when Lukas Holeczek publishes new versions of the template.
Let’s start by creating a standard MVC application, using Visual Studio 2017’s built-in template.
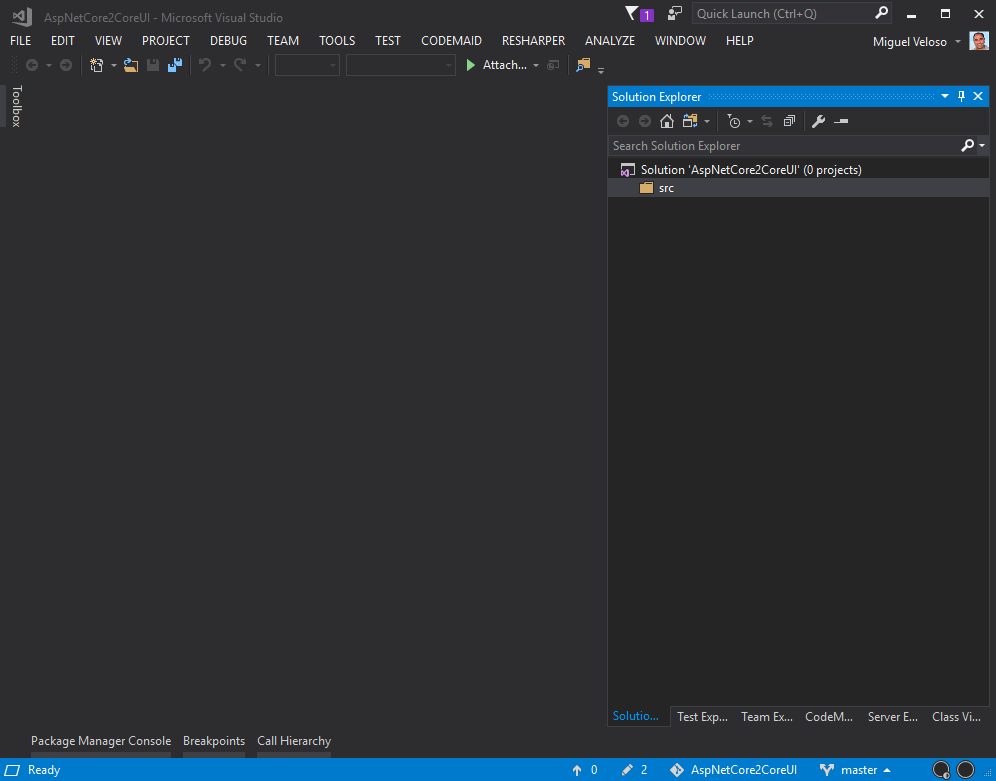
1.1 - Create a blank solution
Create “blank solution” “AspNetCore2CoreUI” with a Git repository
Add “src” solution folder
Right now your solution should look like this:
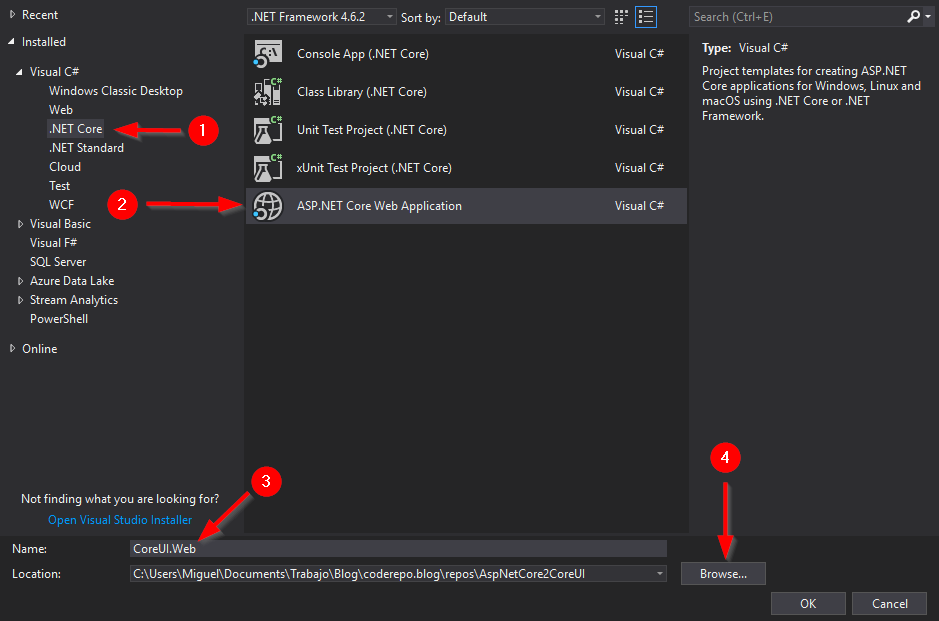
1.2 - Add an ASP.NET MVC Core 2 project
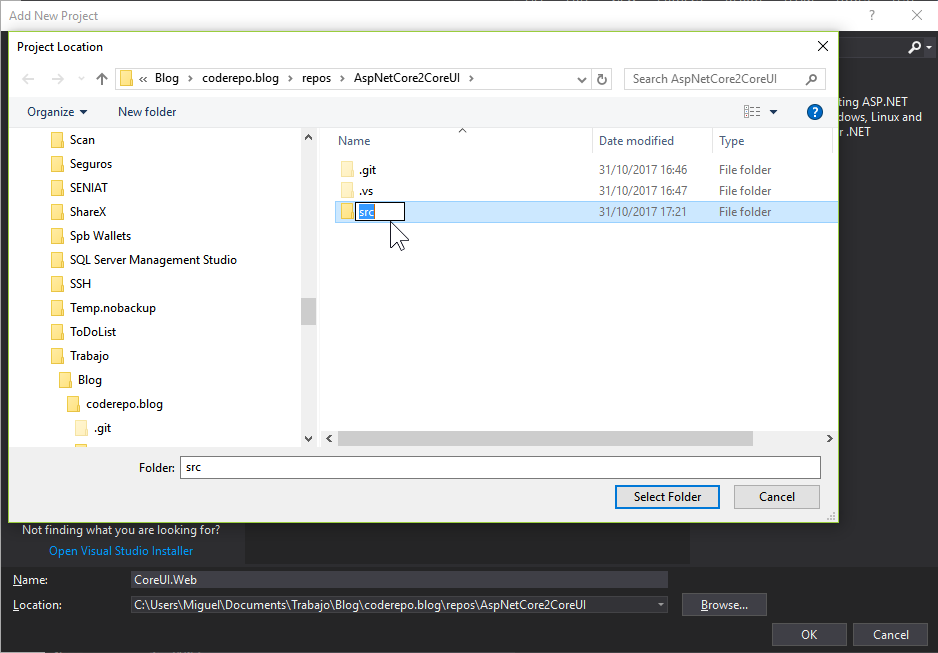
Create CoreUI.Web project of type “ASP.NET Core Web Application” in “src” solution folder and also create “src” folder in the file system.
and select that folder to create the project
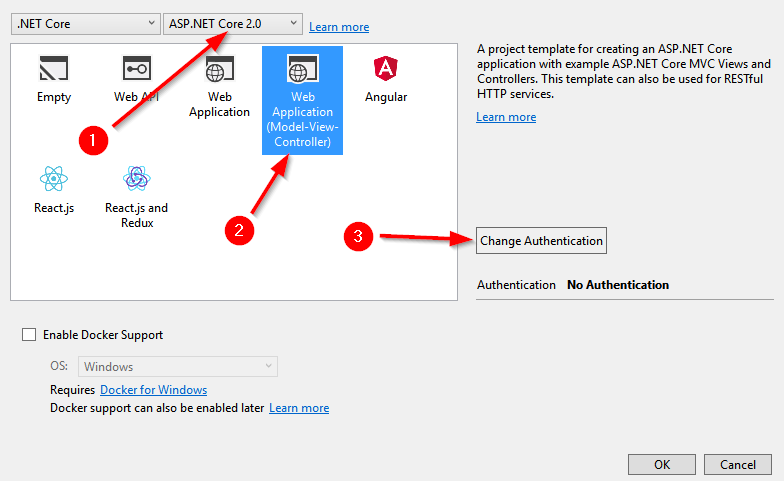
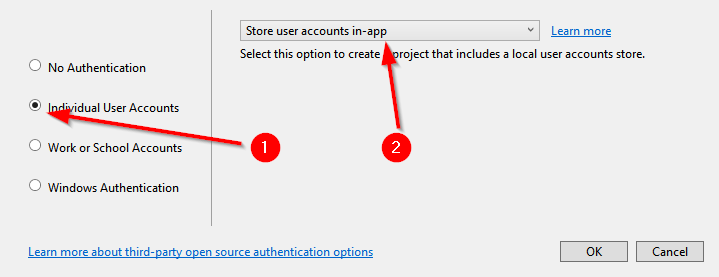
Select an ASP.NET Core 2.0MVC type application and
Change authentication to Individual User Accounts and Store user accounts in-app
1.3 - Create the database
Change the connection string in appsettings.json file to work with SQL Server Developer Edition
Server=localhost; Initial Catalog=CoreUI.Web; Trusted_Connection=True; MultipleActiveResultSets=true
Run the application using [Ctrl]+[F5]
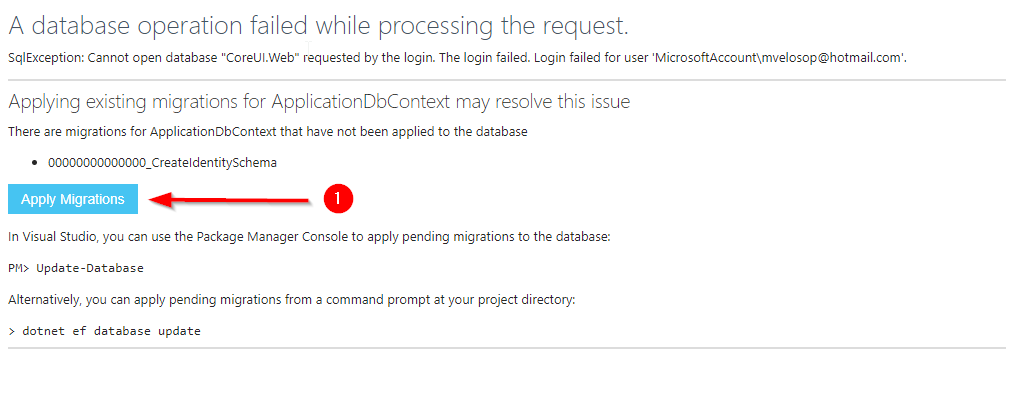
Sign up to force database creation
Click Apply Migrations, when you get the database missing error:
Refresh the screen when the database creation process is complete, to finish user registration
This is a good time to save the project in your repo!
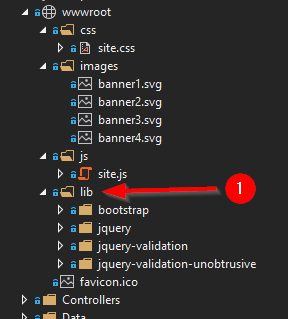
1.4 - Delete original client side libraries
We’re now going to remove all the client-side libraries included by the Visual Studio template, because we’re going to use CoreUI’s ones.
We’re also going to remove Bower as a client-side package manager, because we’ll be using npm and Node as part of CoreUI and npm can get us all the packages we’ll need.
And so we get to know a little more about client-side.
Let’s get started:
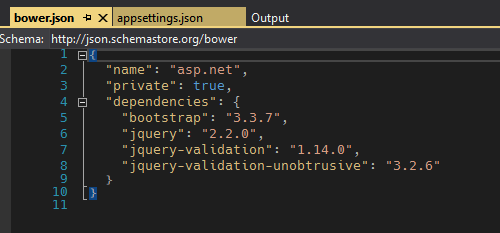
Write down the client-side dependencies (in the bower.json file)
Delete the bower.json file
Close the solution and reopen it to remove the “bower” folder from the project dependencies.
Open the wwwroot folder and delete the “lib” folder
Run the application with [Ctrl]+[F5] to display it without any style (or Javascript)
Let’s save this version to the repository now
2 - Prepare base site
We’re now going to prepare the base folder with CoreUI, which we’ll use to copy the components to our MVC application.
In this process we will learn something (or at least I learned something) about the management of client-side libraries in Javascript.
2.2 - Copy the HTML 5 static version into the solution
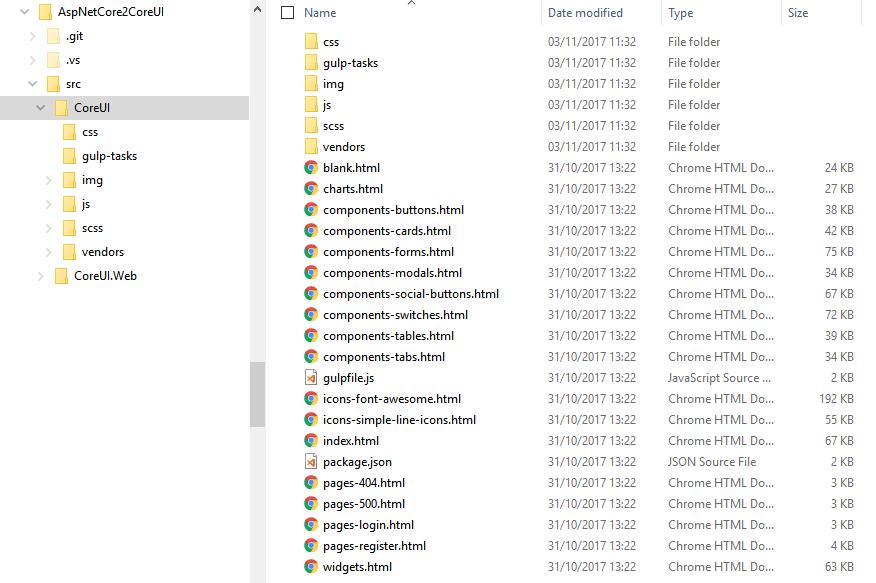
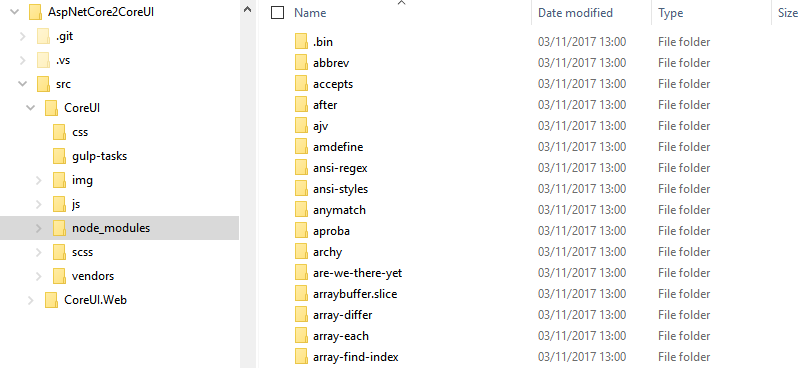
We are going to copy all the contents of the “Static_Full_Project_GULP” folder from the repository into the “src\CoreUI” solution’s folder, outside the web project.
Initially I did this within the CoreUI.Web project, but Visual Studio got extremely slow after downloading the client-side packages in the node_modules folder, I’m not sure if it was because of Visual Studio itself or because of Resharper, but doing it outside the web project worked like a charm.
We’ll include a step later on to copy the final “deployment-optimized” version of CoreUI into the web project.
At this point the solution should look like this from the file system:
src\CoreUI is not part of Visual Studio's solution.
Notice that, although src\CoreUI is within the solution’s folder structure and under source control, it’s not part of the Visual Studio solution, i.e. you just don’t see it in the solution explorer.
2.3 - Install the required client-side packages
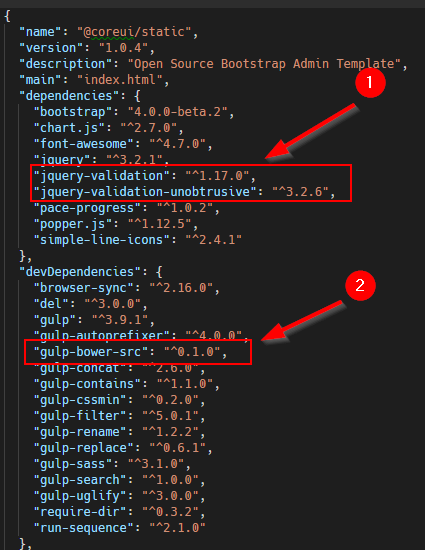
First we edit the packages.json file to include the most recent versions of the packages used by the Visual Studio template, the ones we wrote down in 1.4 and
Then remove gulp-bower-src since we are not using Bower.
Then we run the steps for installing the static version of CoreUI, except for the Bower installation step, from the command line interface in the src\CoreUI solution folder.
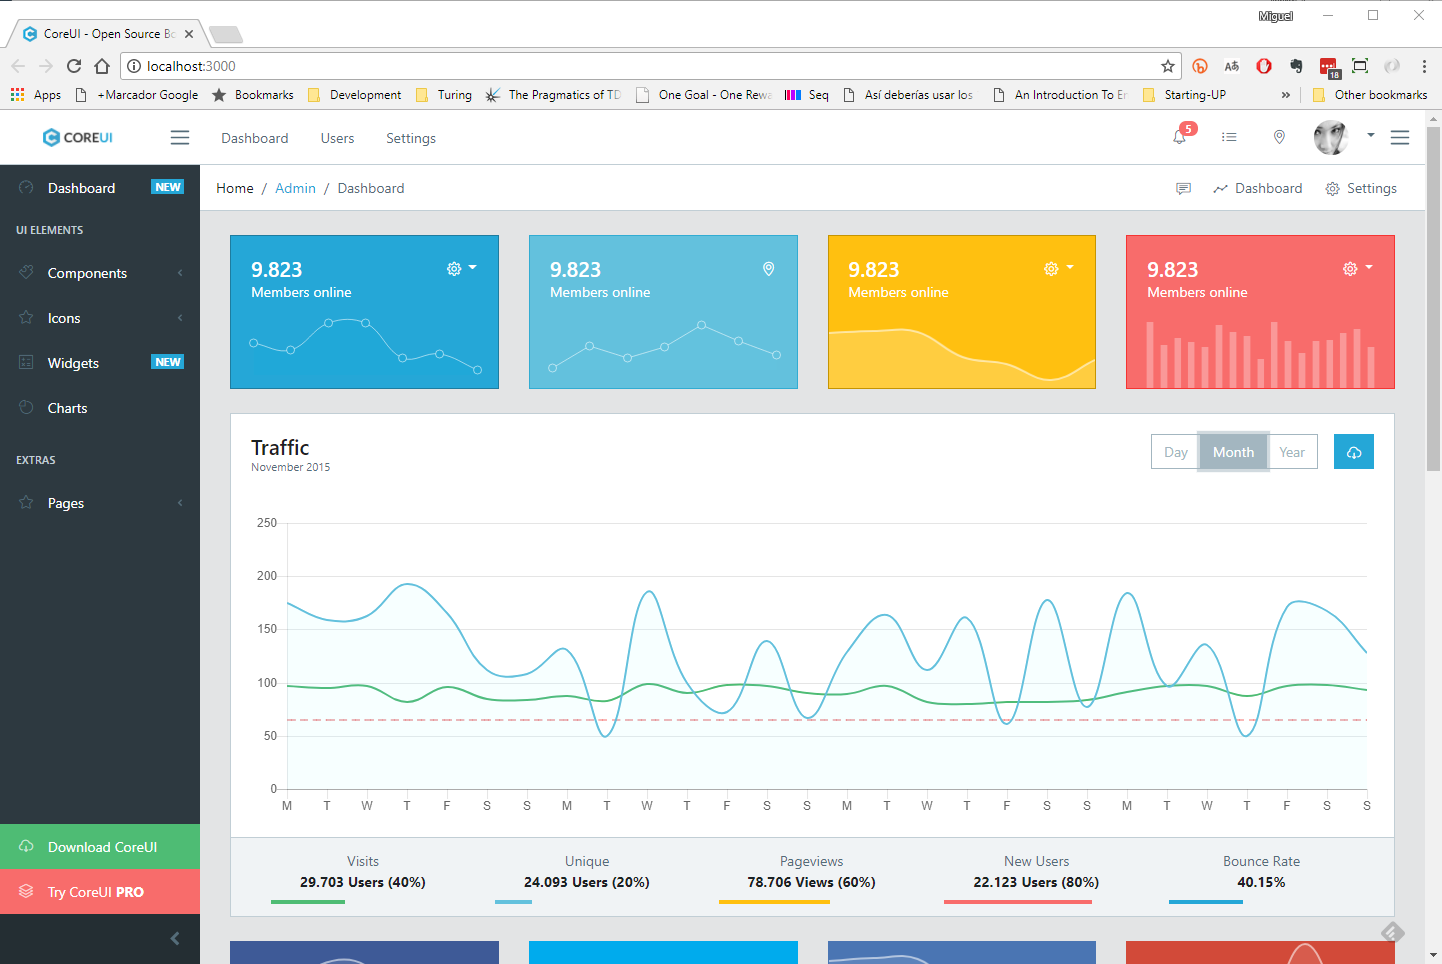
When we’re done, the site (running with gulp serve) should look like this:
Take note of the node_modules folder, that contains the client-side packages specified in packages.json, and their dependencies as well.
Installing packages with npm.
When installing packages with npm, the node_modules folder is created with all the required components, both for development tools such as Gulp, and for running the application. This folder usually takes up a lot of space and should not be included in the application deployment.
The package.json file determines which packages will be installed when you run npm install.
2.4 - Prepare the base “distribution” (deployment) version
All html files we copy from CoreUI’s repo reference directly the files in node_modules, but these folders are development resources, not deployment resources.
To prepare the deployment-optimized version, let’s run the gulp build:dist command from the command prompt on the src\CoreUI folder.
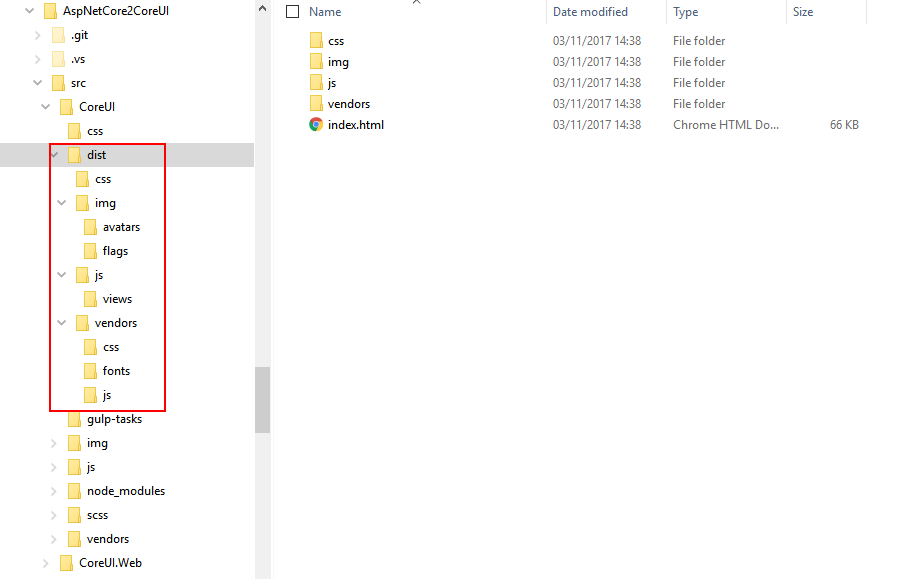
This will generate a new dist folder in src\CoreUI with the content ready for deployment, referring to the minimized versions of the required libraries.
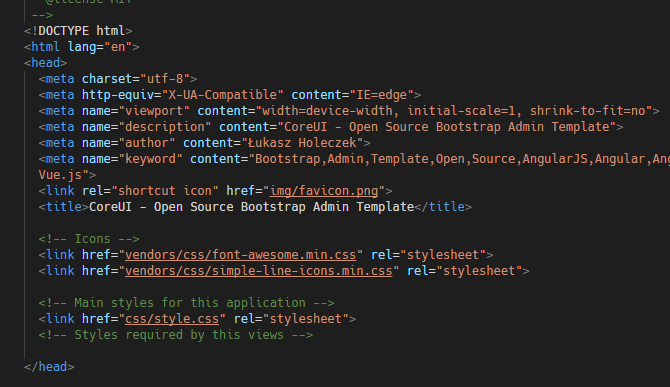
If we click on the src\CoureUI\dist\index.html file we’ll see that all references to node_modules were changed to vendors and all required components were unified in folders css, fonts and js inside vendors.
2.5 - Prepare the “distribution” version to integrate with the ASP. NET MVC project
Now let’s make some minor adjustments to start the integration process with our ASP. NET MVC project.
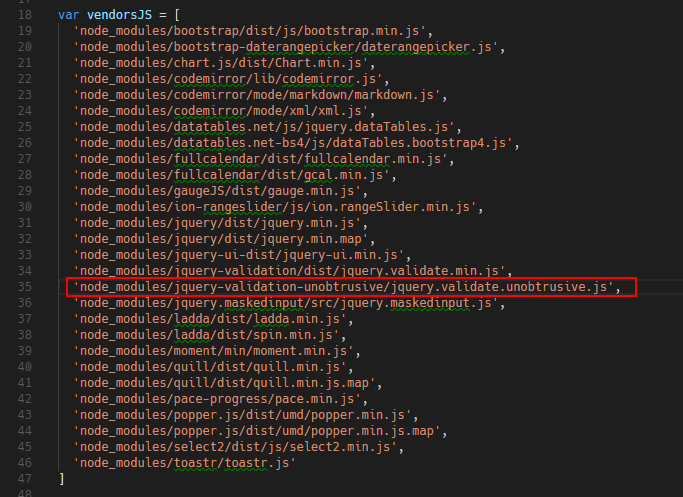
First, we’ll include the required validation libraries, modifying the src\CoreUI\gulp-tasks\build-dist.js file.
This file is used by Gulp, a tool for automating tasks, that’s frequently used in client-side development.
Then, let’s include the line: node_modules/jquery-validation-unobtrusive/jquery.validate.unobtrusive.js
to have this library copied to the deployment version.
Besides that, we’re going to:
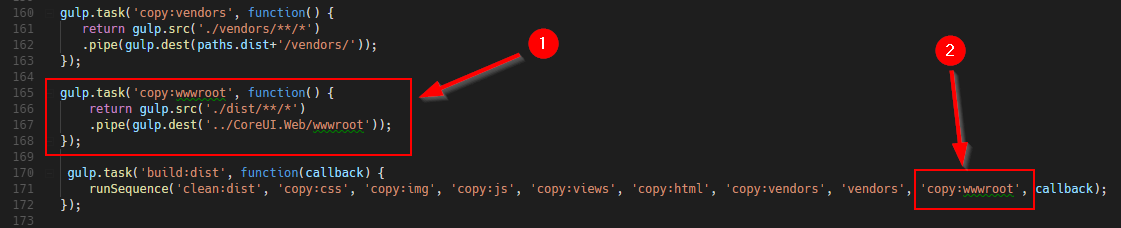
Create an additional task in the same file, to copy the distribution files to the wwwroot folder of our MVC project, where we’ll be using them and
Include that task as part of build:dist
Deployment Packages
The vendorJS, vendorCSS and vendorFonts lists from build-dist.js have the components used by the PRO version of CoreUI, but since they are not in package.json, they are not included for the deployment.
Packages usually have a dist folder that contains the components optimized for deployment and it’s the developer’s responsibility to include the correct files in those lists.
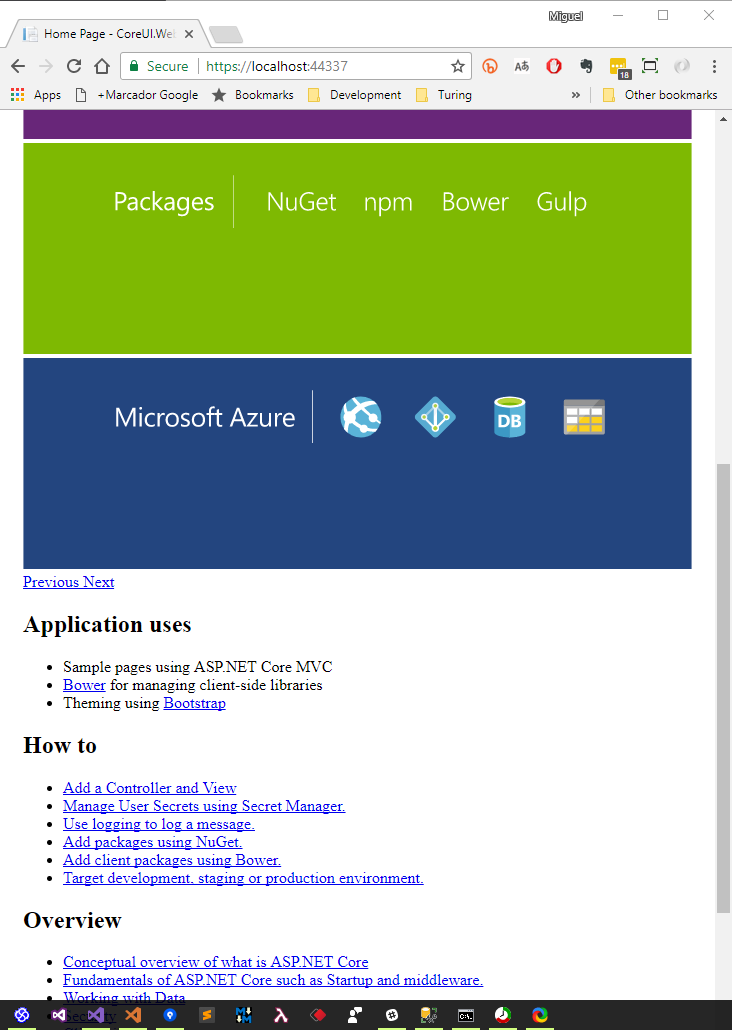
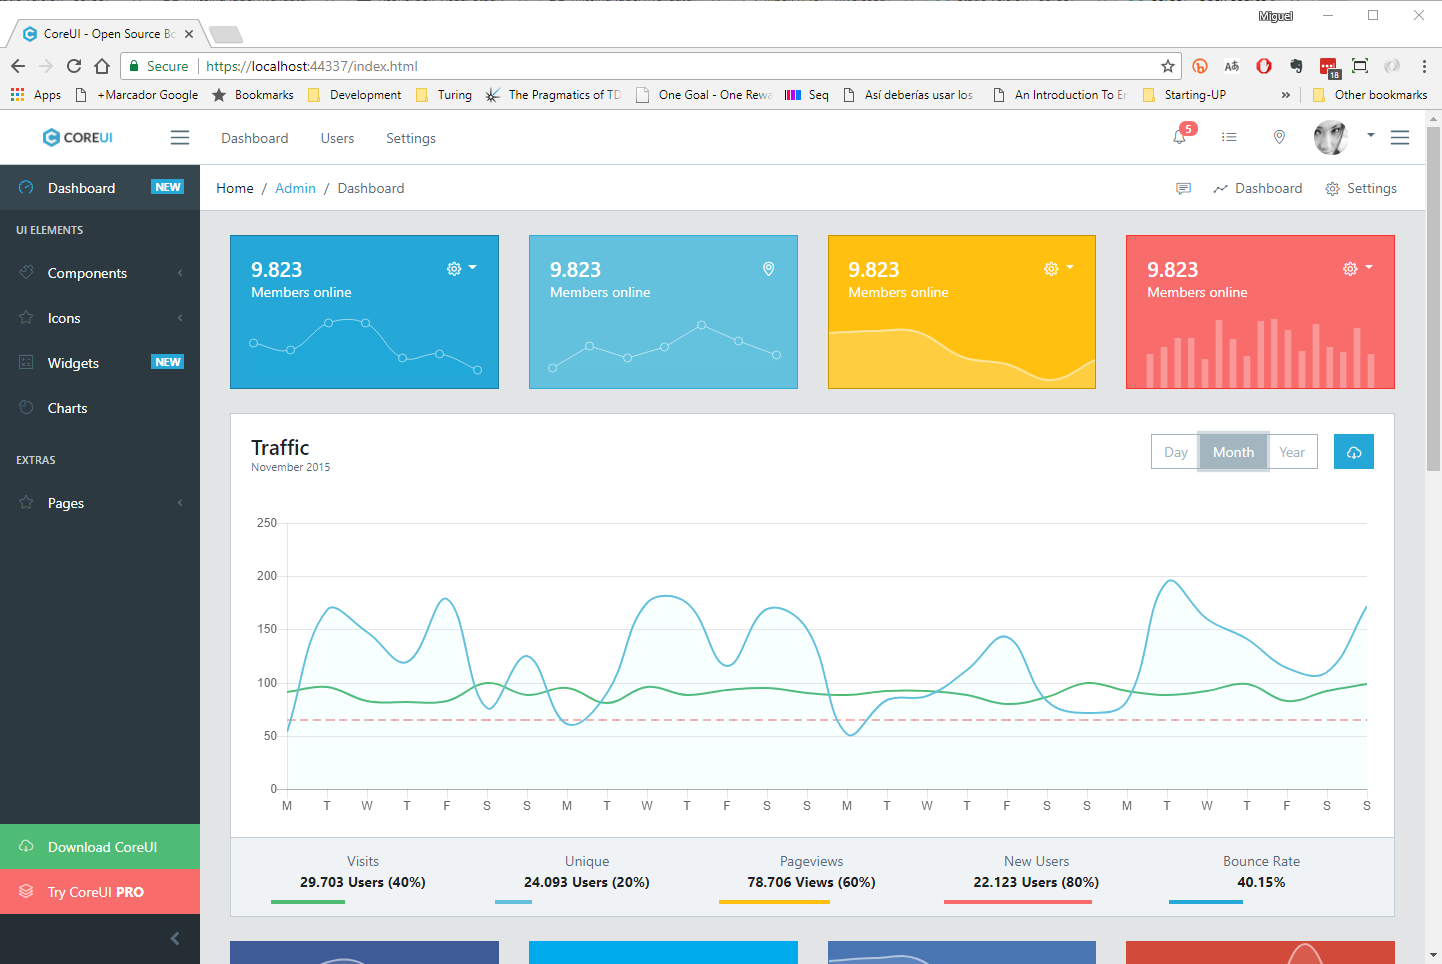
After this we run gulp build:dist again and if we now run the MVC application using [Ctrl]+[F5] and go to the address https://localhost:#####/index.html (##### = port assigned by VS) we should get something like this:
The same page as above but displayed as a static page within our MVC application.
We will now save the solution in the repository.
2.6 - Including new components
While doing this, we also understood how to include new client-side components, such as a date-picker, in the user interface:
Steps to include new client-side components
Include a reference the library in src\CoreUI\package. json
Run npm install to download the package from the npm repository
Edit the src\CoreUI\gulp-tasks\build-dist.js file to update the list of files to be copied, in case they are not included.
Run gulp build:dist to generate the distribution version.
After that, you just need to include the new references (scripts, styles, images, etc.) in the Razor views as needed.
3 - Develop Razor version of CoreUI pages
In this section we’ll convert the static HTML pages from CoreUI into Razor views (.cshtml) that can be used in any application.
3.1 - Develop a generic controller for CoreUI views
This is a very simple controller, that receives the name of the view to display and returns it.
usingSystem;usingSystem.Collections.Generic;usingSystem.Linq;usingSystem.Threading.Tasks;usingMicrosoft.AspNetCore.Mvc;namespaceCoreUI.Web.Controllers{ [Route("CoreUI")]publicclassCoreUIController:Controller{ [Route("{view=Index}")]publicIActionResultIndex(stringview){ViewData["Title"]="CoreUI - Open Source Bootstrap Admin Template";returnView(view);}}}
3.2 - Create the initial Index view
To do this simply:
Copy page index. html from wwwroot to the new folder Views\CoreUI
Change the extension to .cshtlm
Remove the use of the standard _Layout by typing this at the top of the view:
@{Layout="";}
We changed all occurences of “@” to “@@” to avoid Razor’s syntax error.
Razor Views and html
Any valid .html file is also a valid Razor view, you only need to change the extension to .cshtml.
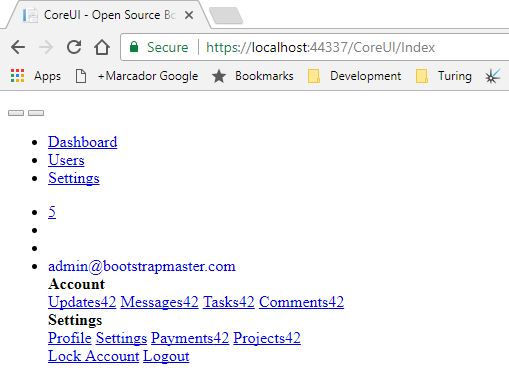
Then, when running the application with [Ctrl]+[F5] and navigating to https://localhost:#####/CoreUI/Index (##### = port assigned by VS) we should see the following:
This happens because references to css, js, images, etc. files need to be corrected.
This is all it takes:
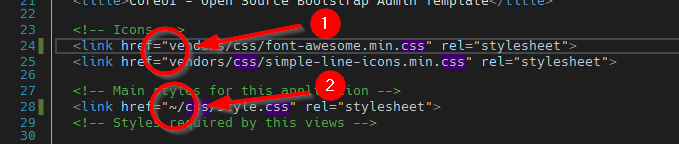
Identify the addresses pointing to the files and
Add ~/ in front of them:
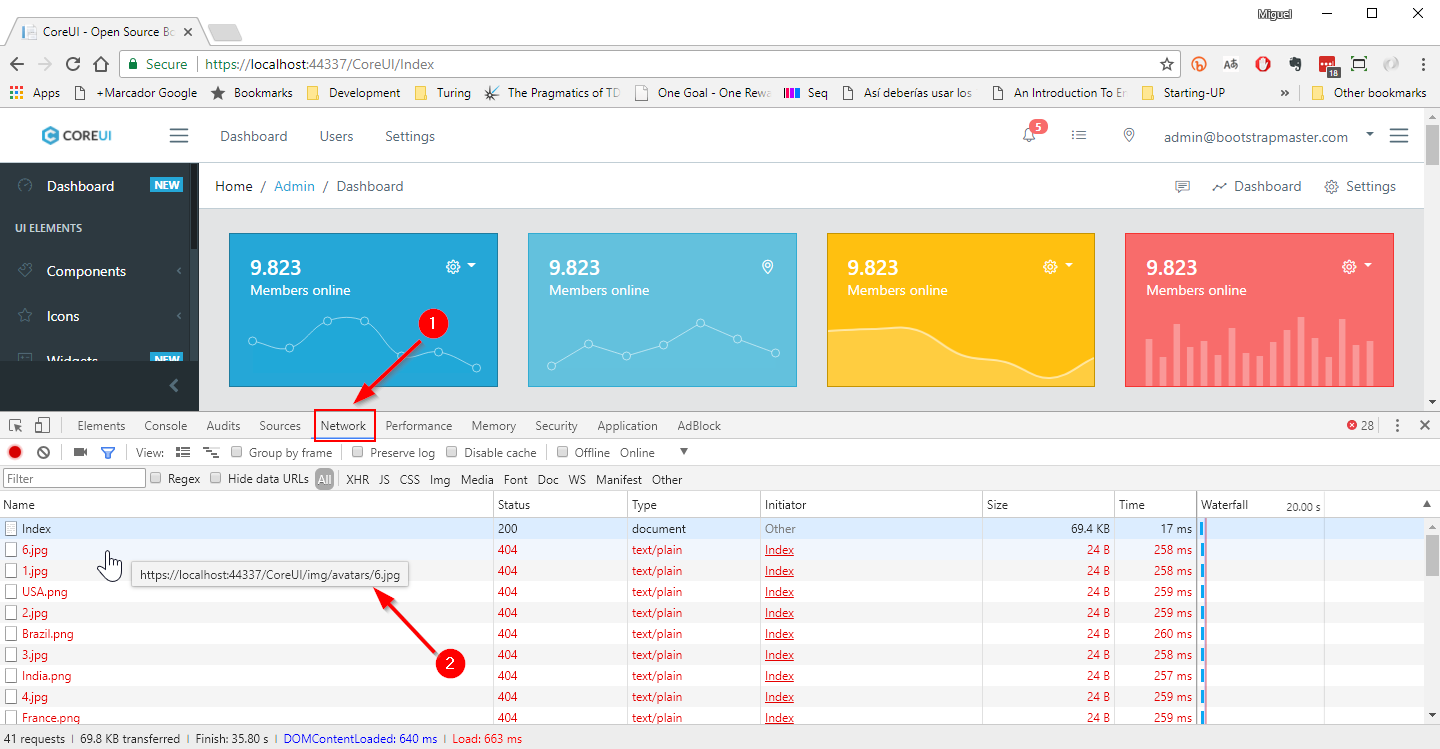
If necessary, modern browser development tools can help identify missing files:
Once all references are corrected, we will have the page we already know, but this time generated by a Razor view from https://localhost:#####/CoreUI/Index.
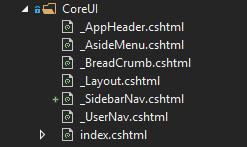
3.2 - Splitting the Index.cshtml view in components
Now let’s split the Index.cshtml view in several components:
A “_Layout.cshtml” view
Several componentized partial views and
the Index.cshtml view, with the main content of the page.
We’re not going to show the whole process, just the final _Layout view and the resulting file list, so it should be pretty obvious what the job is and, ultimately, you can see the final result in the article’s repository.
If we now go back to https://localhost:#####/CoreUI/Index, we’ll see the same screen, but this time as a composition of the main content on the layout and the partial views.
3.3 - Convert the rest of the CoreUI pages
The conversion of the rest of the pages into razor views is quite simple, although there are some details that’s better to look at directly in the repository.
The work is basically:
Leave just the content inside the <div class="container-fluid"> tag, since this and everything else is, directly or indirectly (other componentized partial views), in _Layout.cshtml and
Change the extension to .cshtml
4 - Integrate CoreUI views with MVC application
Finally, what’s left is just:
Move the _Layout and all partial views to the Shared folder
Modify links to CoreUI pages to use the controller
Transfer the functionality of _LoginPartial.cshtml to _UserNav.cshtml
Include the handling of styles and scripts per view in _Layout.cshtml
Adapting the Carousel to Bootstrap 4
plus some other minor detail that’s best seen in the repository.
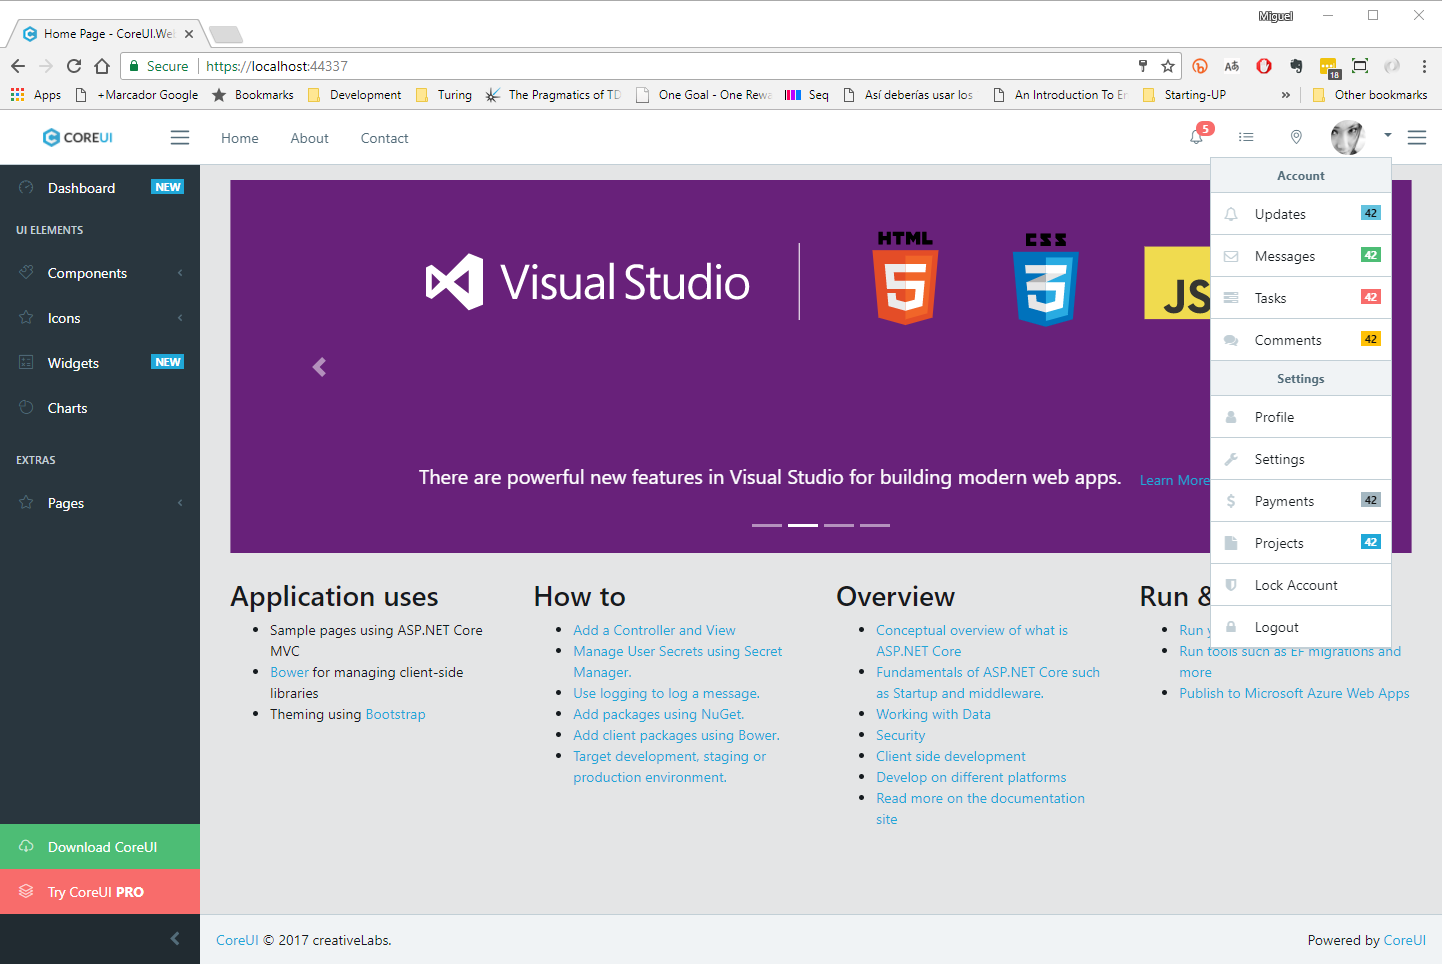
With this, we finally reached our goal:
The MVC application menu in the top navigation bar
The CoreUI menu in the side navigation pane
The user menu from the profile photo, with functional “Profile” and “Logout” options
In short, I think a good starting point for an elegant and attractive user interface in your next project.
Summary
In this article we looked at the process in quite detail of adapting a static HTML template to ease the development of attractive ASP.NET MVC applications.
In doing so, we learned a little more about the structure and use of client-side packages for user interface development.
I hope you've found this post useful and invite you let me know your opinion in the comments section.